Tyger Riser Installation and review
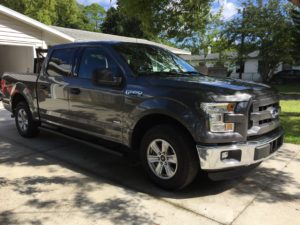
I had been searching for running boards for a new truck that I had just purchased. There were several options I had when looking around. Some ranging from $250-$400.00. I came across a f150forum where people had shown photos of their mods. My interest piqued to start modding. Convenience was key for thinking of what to do. Running boards were up front and were my actual first purchase. Tyger Riser offers a lot of different running boards / nerf bars. I chose the 2015-2016 F150 Running bars, well since It’s a F150:). However they offer the running boards for so many vehicles Here are there models sold on amazon
Packaging
I didn’t get to cap a photo of it but it was very nicely packaged, with the running boards separated from the hardware. They were all flawless in the box. Each set of nuts and bolts were separated by material type. This was super nice instead of having them all packaged into one pile. Bubble wrap and card board kept everything snug and safely packaged for transport.
Materials and Instructions
When you open up the box the first thing you (guys) usually do is start working without reading the instructions. Just check over them, it’s a good idea to read all the included material. You’ll thank me later:) The running boards I purchased for $193.00 Shipped and the instructions were very simple, illustrated and clear to go over. Amazingly enough they send the shipment with some small square clear washers that help protect your paint from getting scuffed from tightening down your nuts. Don’t forget to put those on especially a new truck. My tip with those is bend them from opposite corners and press in they wen’t on smooth and fast.
Installation
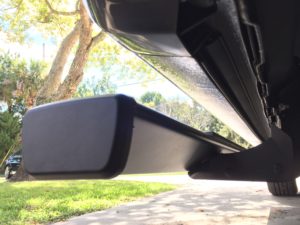
You can definitely do it with one person but I opted to have the little one help out since she was so curious about what I was doing. I placed the clear washers on all 9 posts under the truck, then put the brackets on. You’ll need a 13mm socket. If you can hook it up to a drill or an impact wrench you’ll save some time. They’re locknuts so you can’t spin them on. I placed all of the brackets on without tightening the nuts. While I was under I had my wife grab the running board and lightly secure it with 6 bolts 2 per bracket. I didn’t tighten anything down since they do have a little bit of adjustment I wanted to tuck them in to the body as close as I could.
There was really not much more to the install than that. I tightened the bolts down and gave it a try.
Overall
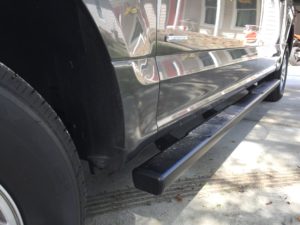
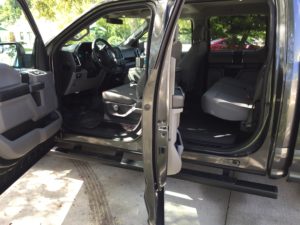
They’re nicely coated with black Powder-Coating for rust-resistant with UV resistant non-slip wide step pads. The bolts and nuts provided are very good quality and seemed specific for this application. It took a couple days for muscle memory to take over, bumping my head a few times. The baby, which is almost 3, now can get up in the truck unassisted. I’ll share some video of her climbing in below. The wife is happy and now can get into the truck with out issues. And they look awesome!



You don’t happen to have a copy of the instructions for insallation of those running boards do you ? I lost mine . Thanks
Hey Angelo, I Sure dont, but its super easy. There are 3 studs under the truck at the front middle. It should be similar to this: https://www.youtube.com/watch?v=wjzfddQt2xE Everything was symmetrical not too triicky.